Creating an Email Message and/or Push Notification in Message Center
 Updated
🎥 Prefer to learn by video? Watch this video tutorial of how to use our Message Center!
Email messages and/or push notifications can be sent to clients instantly, can be scheduled for delivery on a future date, and can be scheduled to send on a recurring basis.
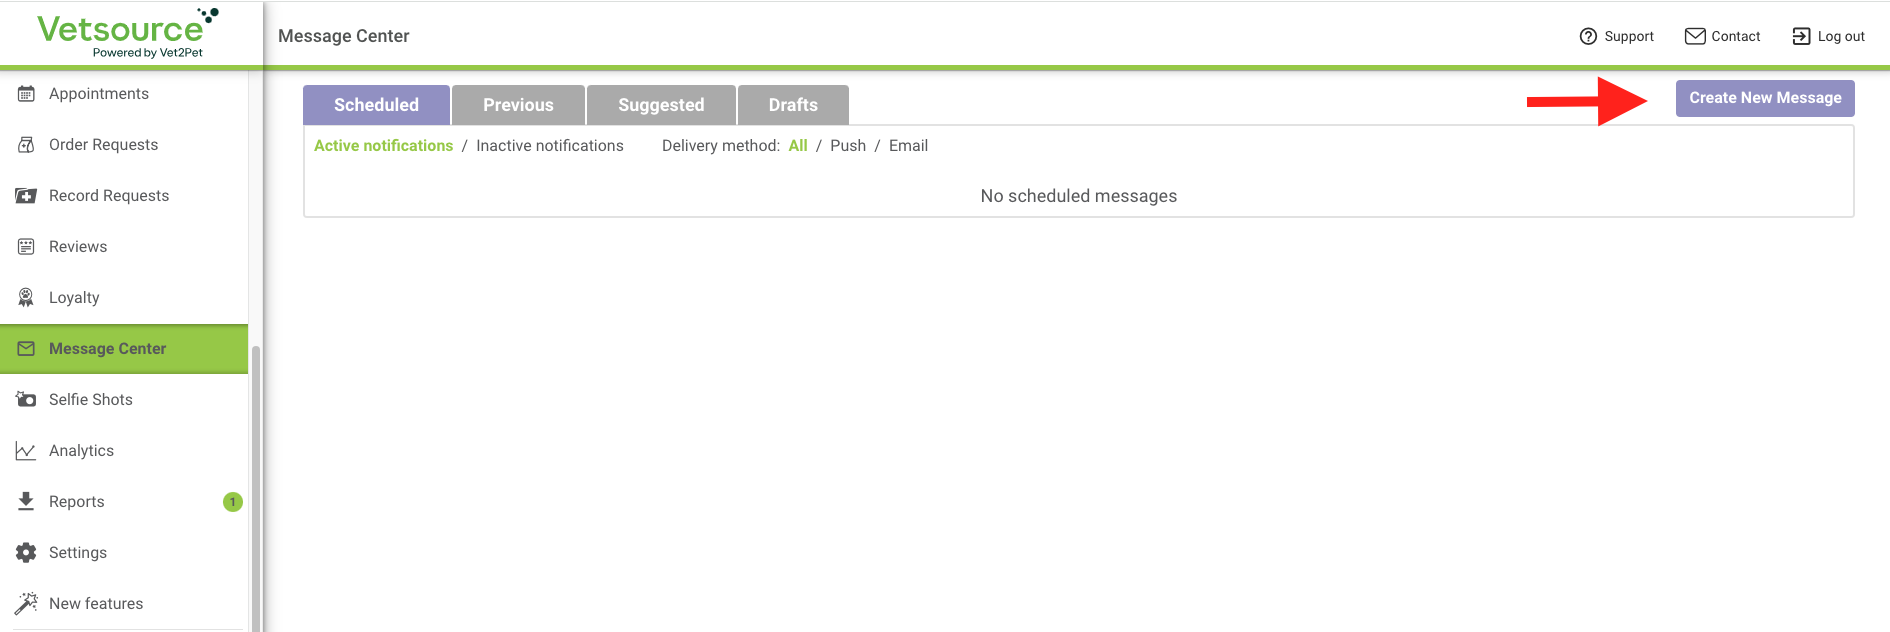
- From your practice dashboard, click Message Center > Create New Message.
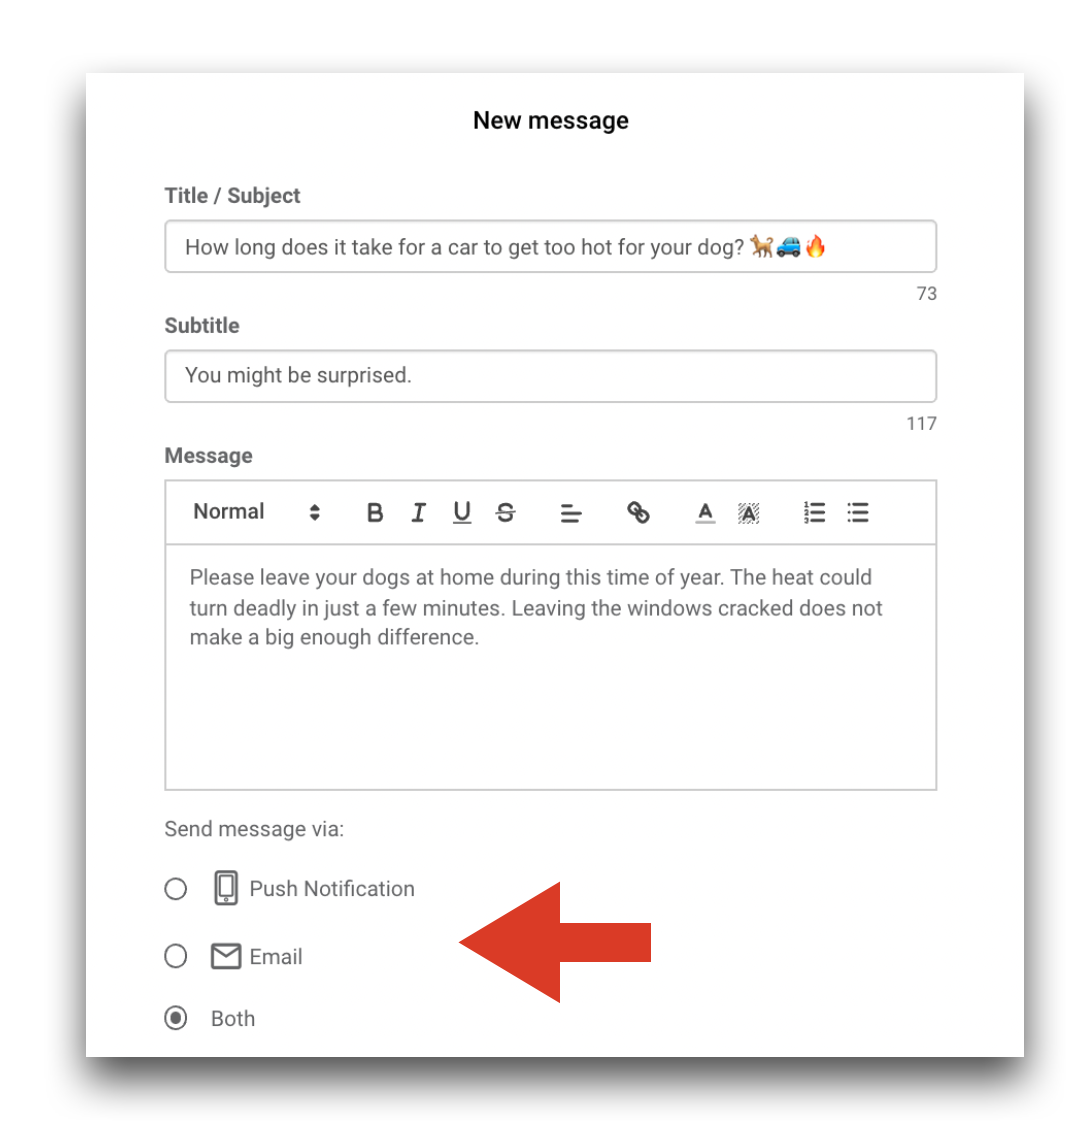
- For step 1, enter the title, subtitle, and message. Messages can be stylized with different fonts and colors, and can include embedded links to websites or videos. There are no character limits for messages.
Try to create a catchy title and a different subtitle that will capture the user's attention and prompt them to click to open the message! Some examples include:
"Time to give parasite protection to your BFF!"
"Pet food recall! Click HERE to see if your pet's food is on the list!"
"Time to give parasite protection to your BFF!"
"Pet food recall! Click HERE to see if your pet's food is on the list!"
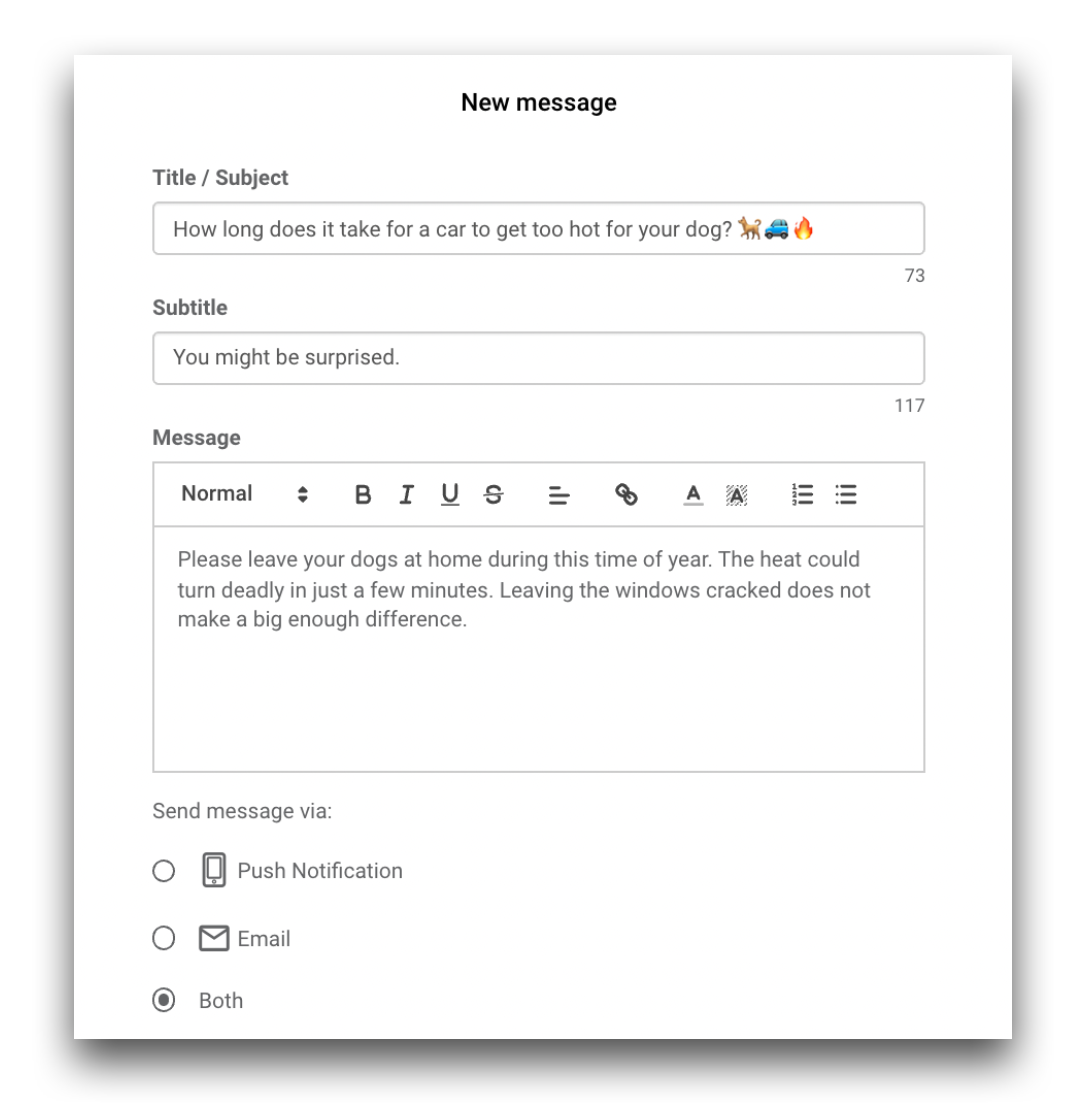
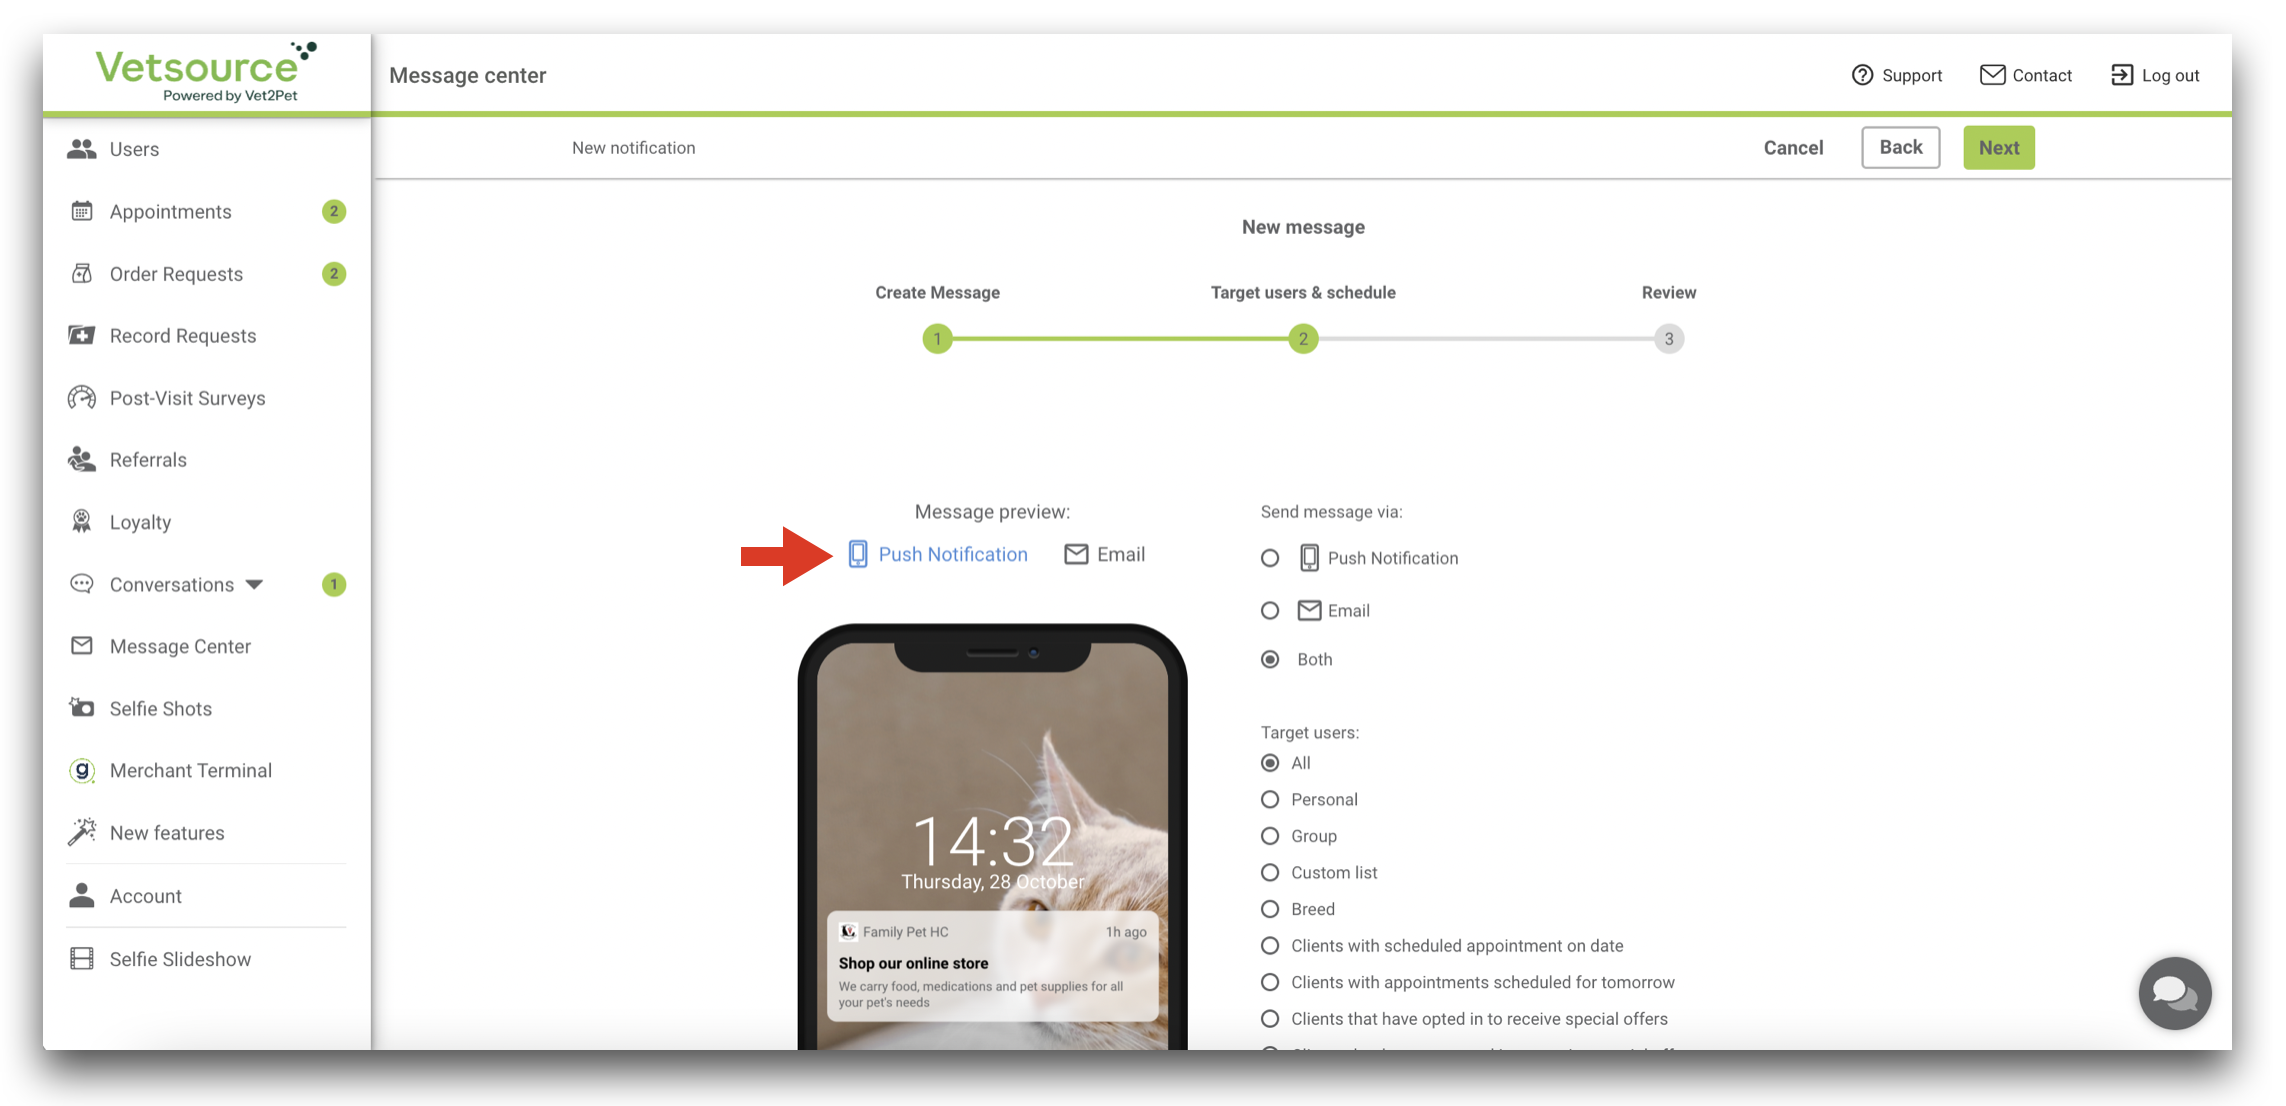
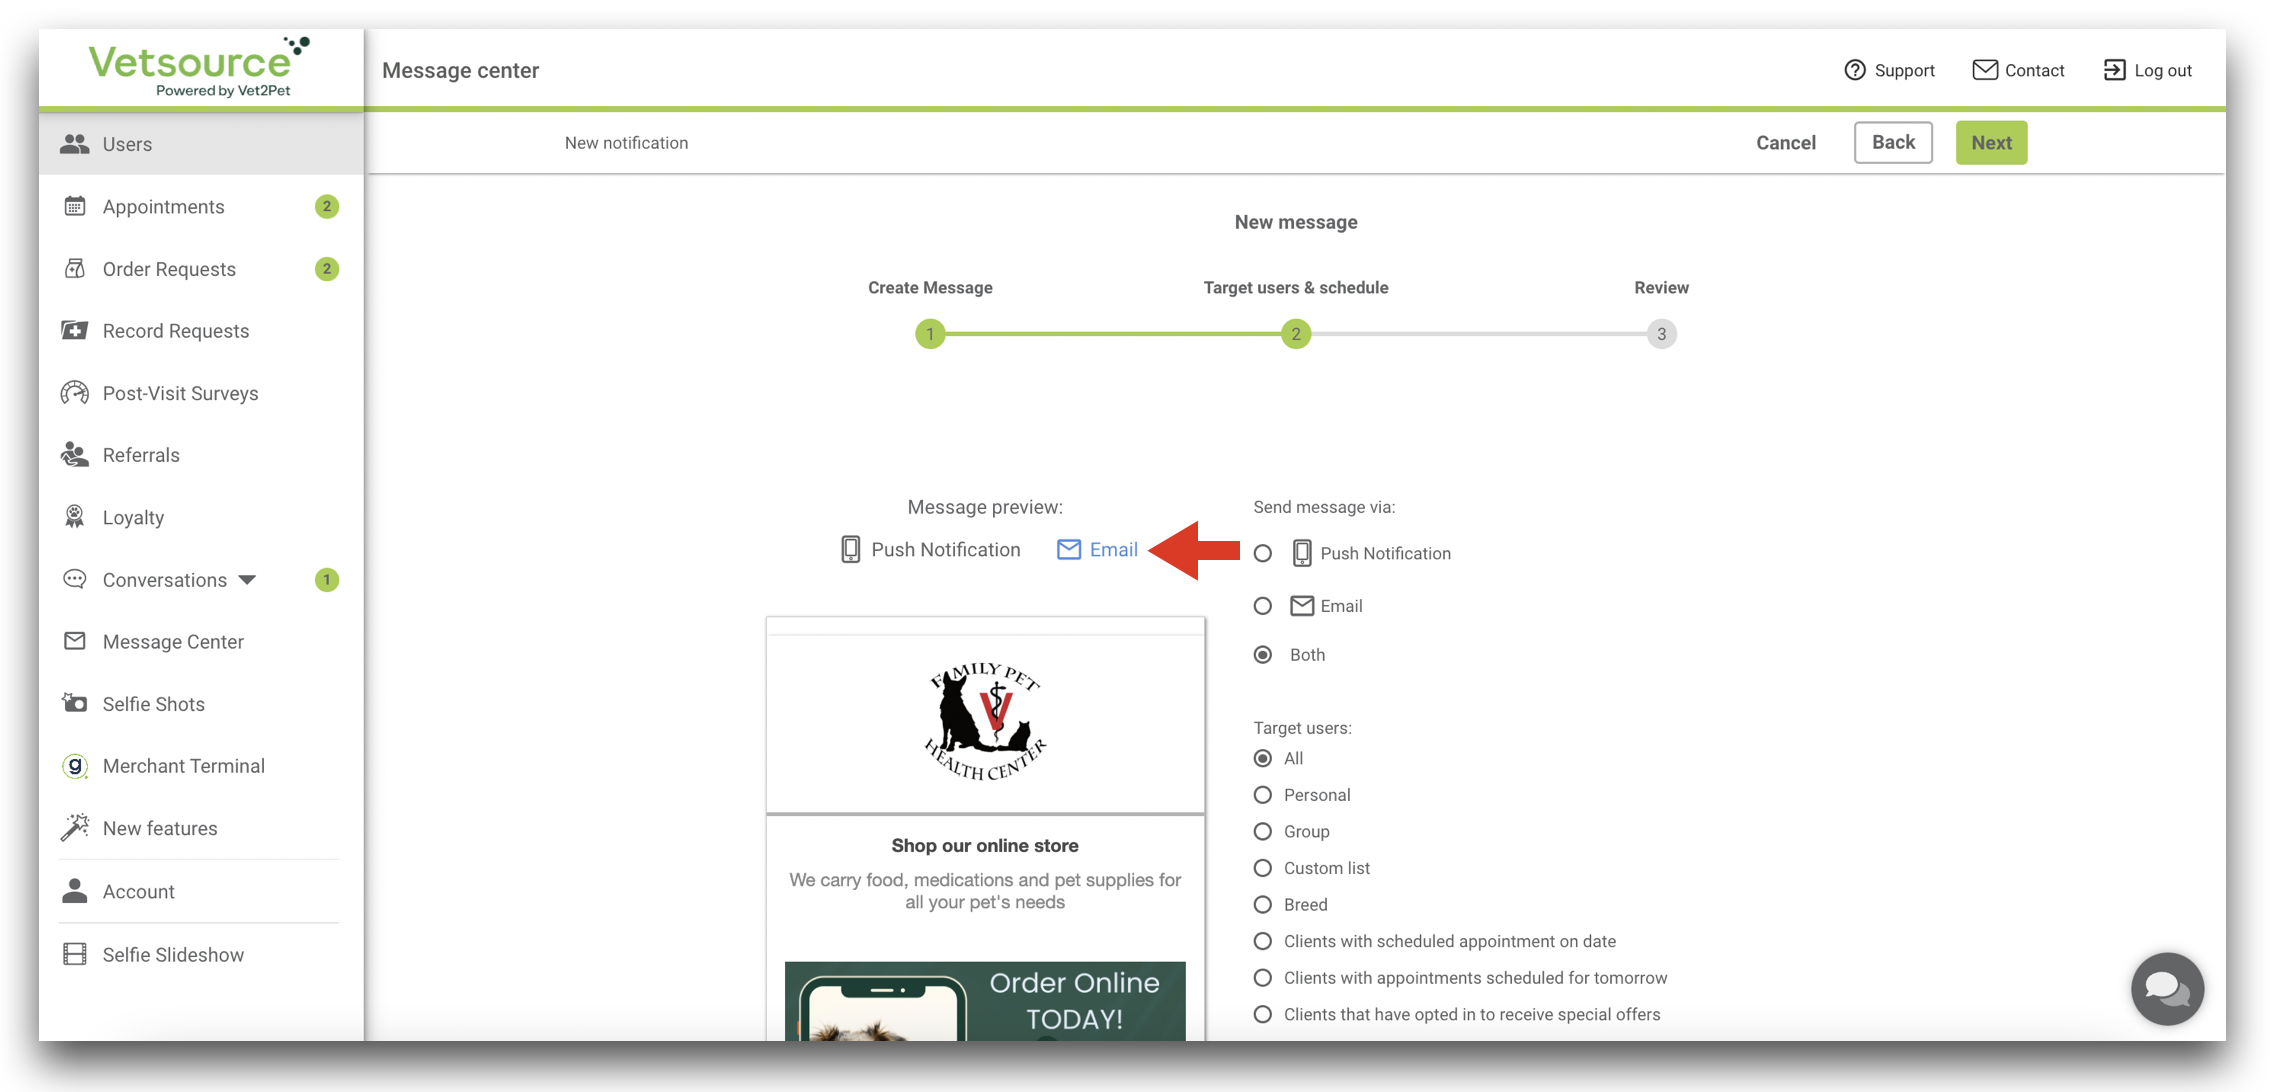
- Click Next to step 2 where you will choose your delivery method(s) (push notification, email, or both).
All clients with a valid email on file in your PIMS who have not unsubscribed to receiving emails will receive an email regardless of whether they have the mobile app or not. Anyone who has downloaded your app will receive a push notification, provided they agreed to receive them when they first installed the app, and are logged in to their app account.
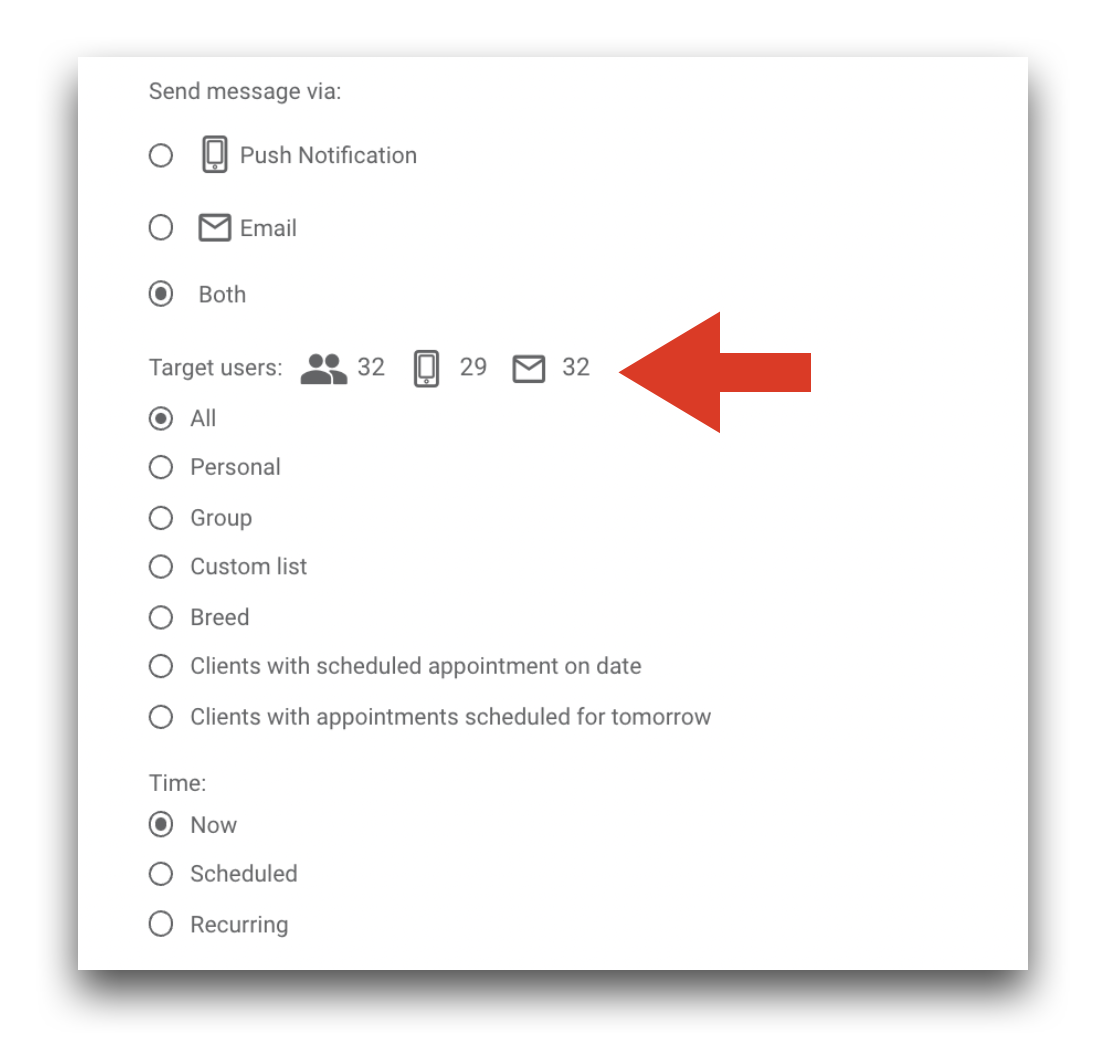
- Choose the audience who will receive the message under Target Users. Learn more about target users HERE.
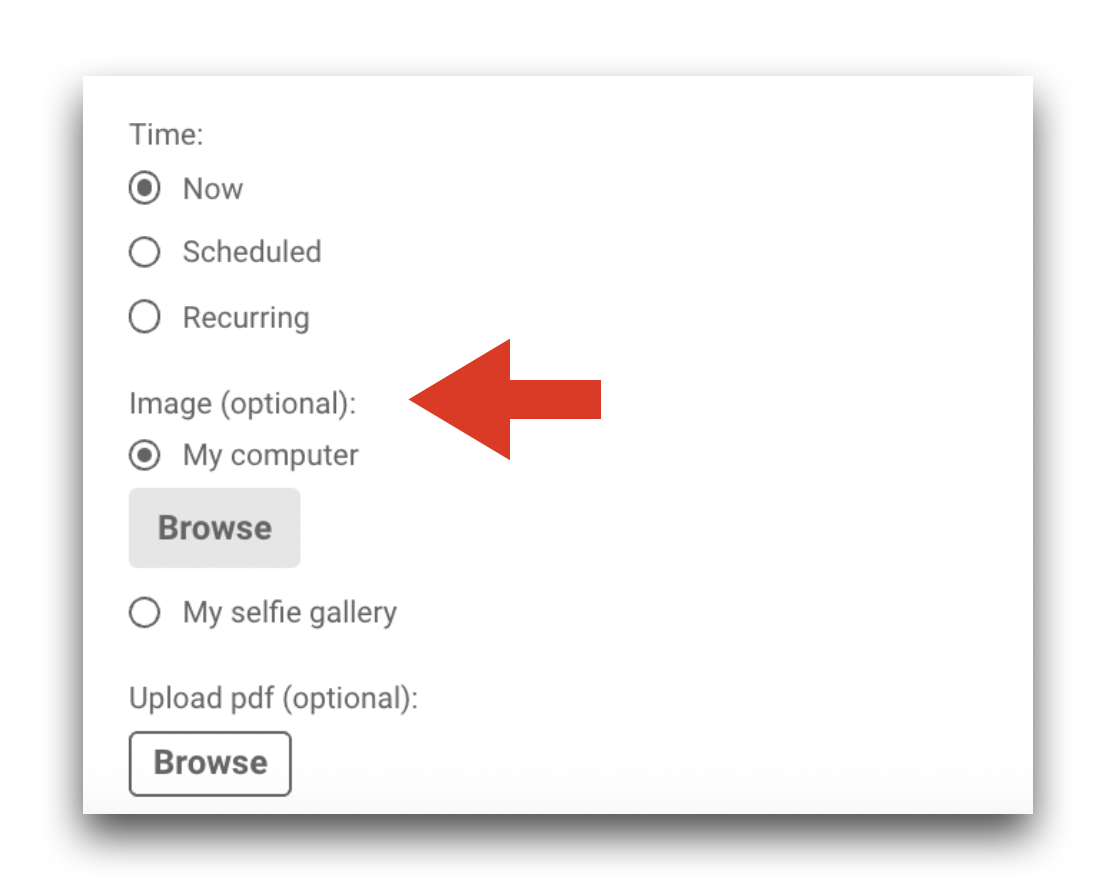
- Choose when you want to send your message (now, scheduled, or recurring).

If you have multiple messages schedule to send, the Scheduled tab will be sorted using the following logic:
- If a scheduled message is recurring, it will be sorted by the date that the message was sent for the first time.
- If a scheduled message is sent one time, it will be sorted by the date the message is scheduled to be sent.
- If a scheduled message is recurring, it will be sorted by the date that the message was sent for the first time.
- If a scheduled message is sent one time, it will be sorted by the date the message is scheduled to be sent.
- Upload an image to include in the message, or click My selfie gallery to choose a selfie that clients have given permission to share.
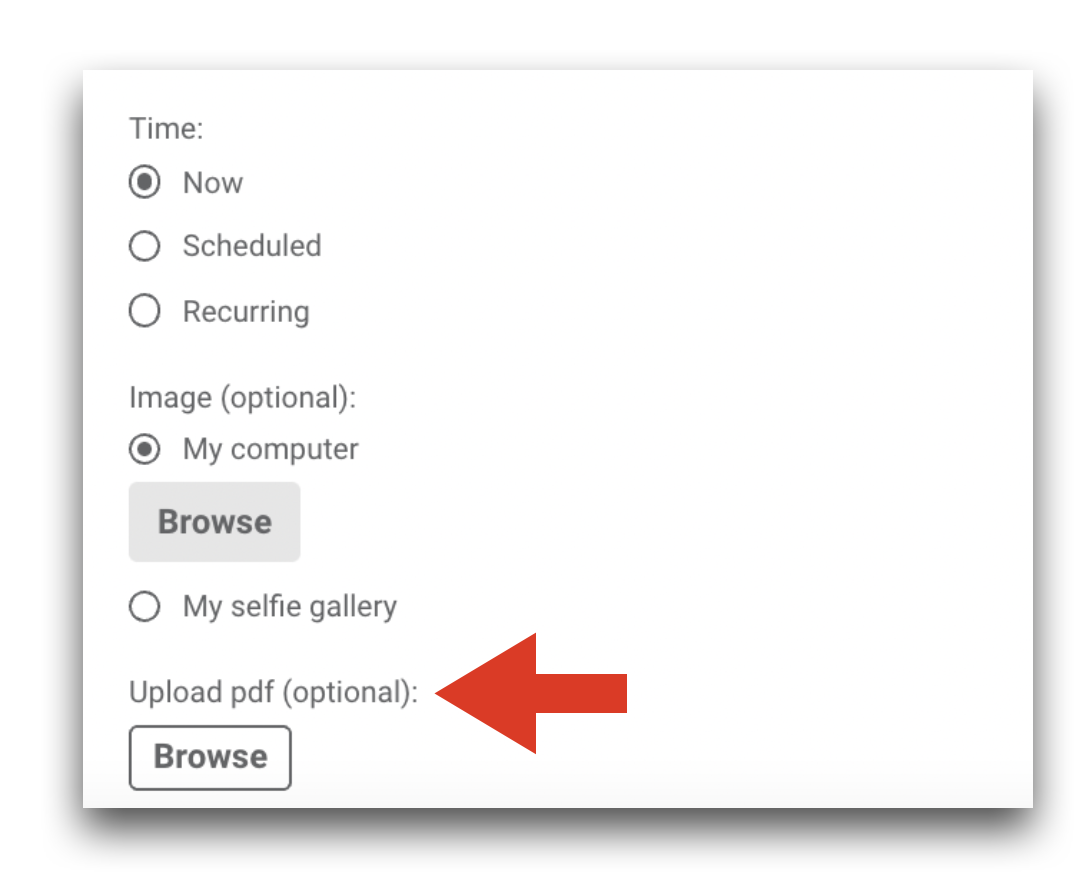
- Upload a PDF file to include in your notification (e.g., lab work results).
- Preview your message. When you are satisfied with how it looks, click Next to move to step 3.
- Review your audience totals to see how many total clients will receive your message and how many will receive it via email and/or app notification.
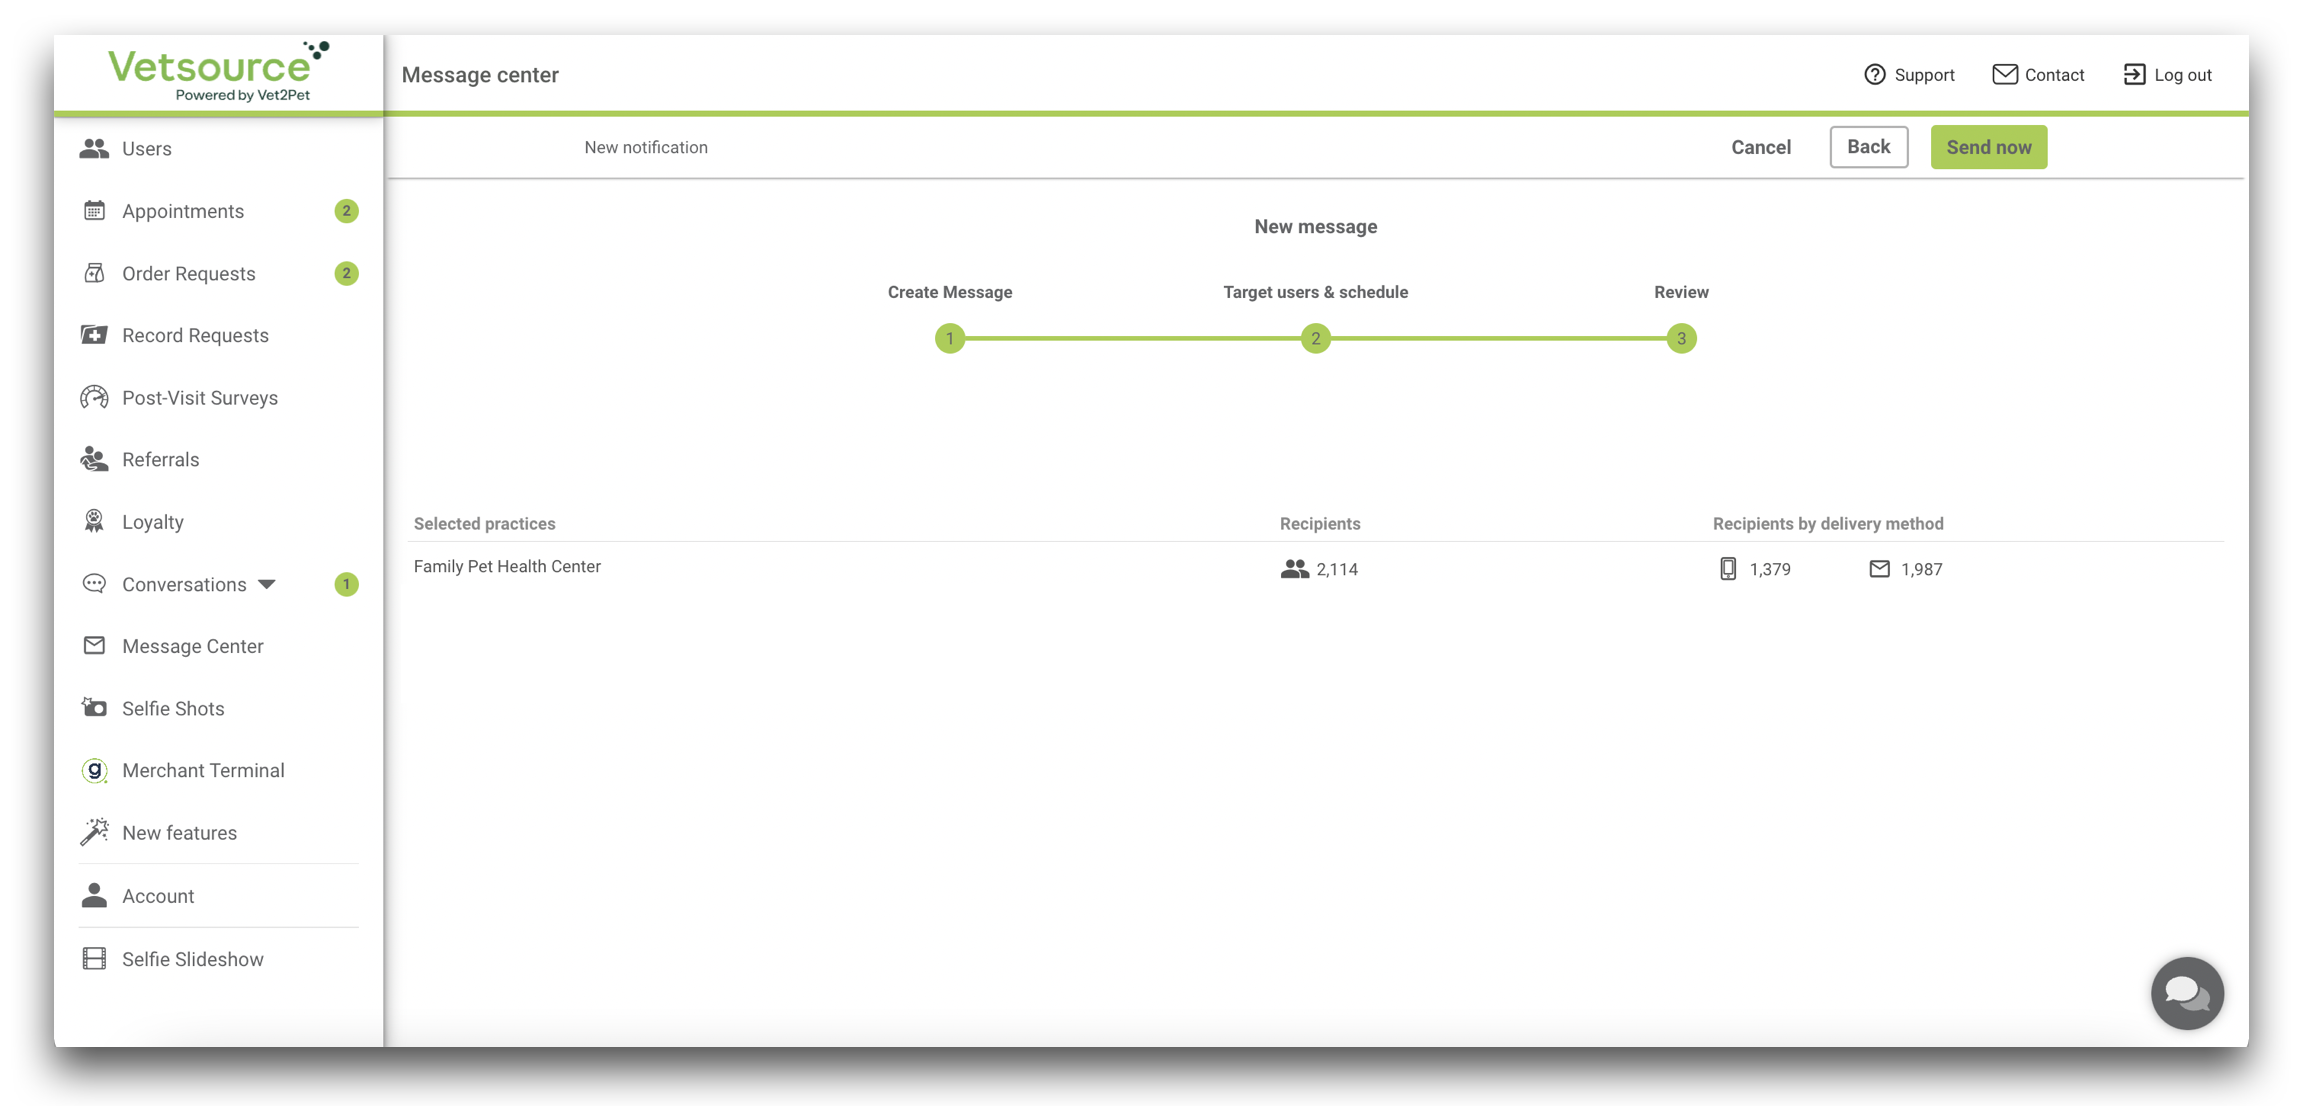
- When you are satisfied with your message, click Send now.
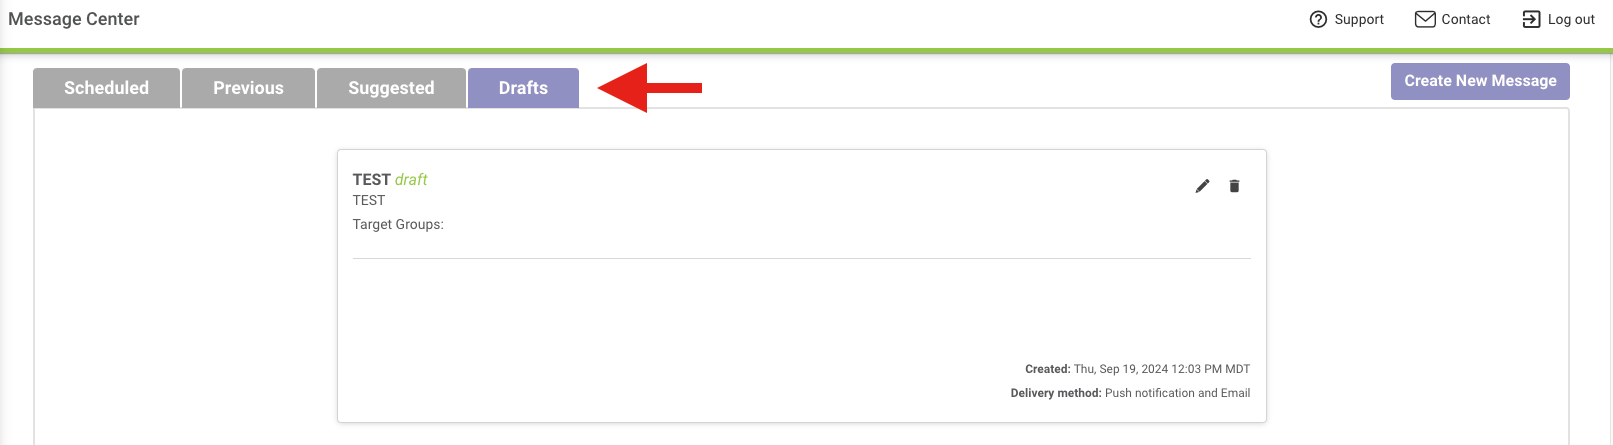
Don't have enough time to complete your message?
If you decide you need to step away, you can save it as a draft!
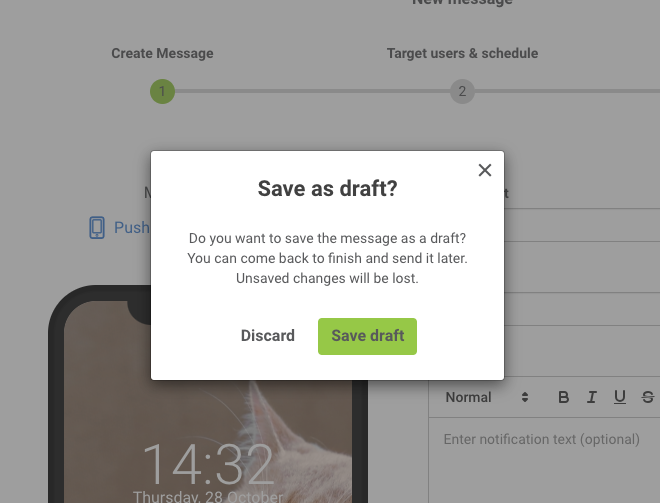
When you are ready to resume working on your message, your message will be in the Drafts tab.